
Introduction
GitLab is an open-source application primarily used to host Git repositories, with additional development-related features like issue tracking. It is designed to be hosted using your own infrastructure, and provides flexibility in deploying as an internal repository store for your development team, a public way to interface with users, or a means for contributors to host their own projects.
The GitLab project enables you to create a GitLab instance on your own hardware with a minimal installation mechanism. In this guide, you will learn how to install and configure GitLab Community Edition on an Ubuntu 20.04 server.
Hardware Requirements
The published GitLab hardware requirements recommend using a server with a minimum of:
- 4 cores CPU & 4GB of RAM. Supports up to 500 users
- 8 cores CPU & 8GB of RAM. Supports up to 1000 users
Install Gitlab
1. Install Dependencies
apt-get update
apt install -y ca-certificates curl openssh-server postfix tzdata perl
2. Install Gitlab CE
curl https://packages.gitlab.com/install/repositories/gitlab/gitlab-ce/script.deb.sh | sudo bash
EXTERNAL_URL="https://gitlab.rjhaikal.my.id" apt-get install -y gitlab-ce
3. Adjusting the Firewall Rules
ufw status
---Output---
Status: active

To                         Action      From
--                         ------      ----
OpenSSH                    ALLOW       Anywhere
OpenSSH (v6)               ALLOW       Anywhere (v6)
ufw allow http
ufw allow https
ufw allow OpenSSH
sudo ufw status
---Output---
Status: active
To Action From
-- ------ ----
OpenSSH ALLOW Anywhere
80/tcp ALLOW Anywhere
443/tcp ALLOW Anywhere
OpenSSH (v6) ALLOW Anywhere (v6)
80/tcp (v6) ALLOW Anywhere (v6)
443/tcp (v6) ALLOW Anywhere (v6)4. See Initial Root Password
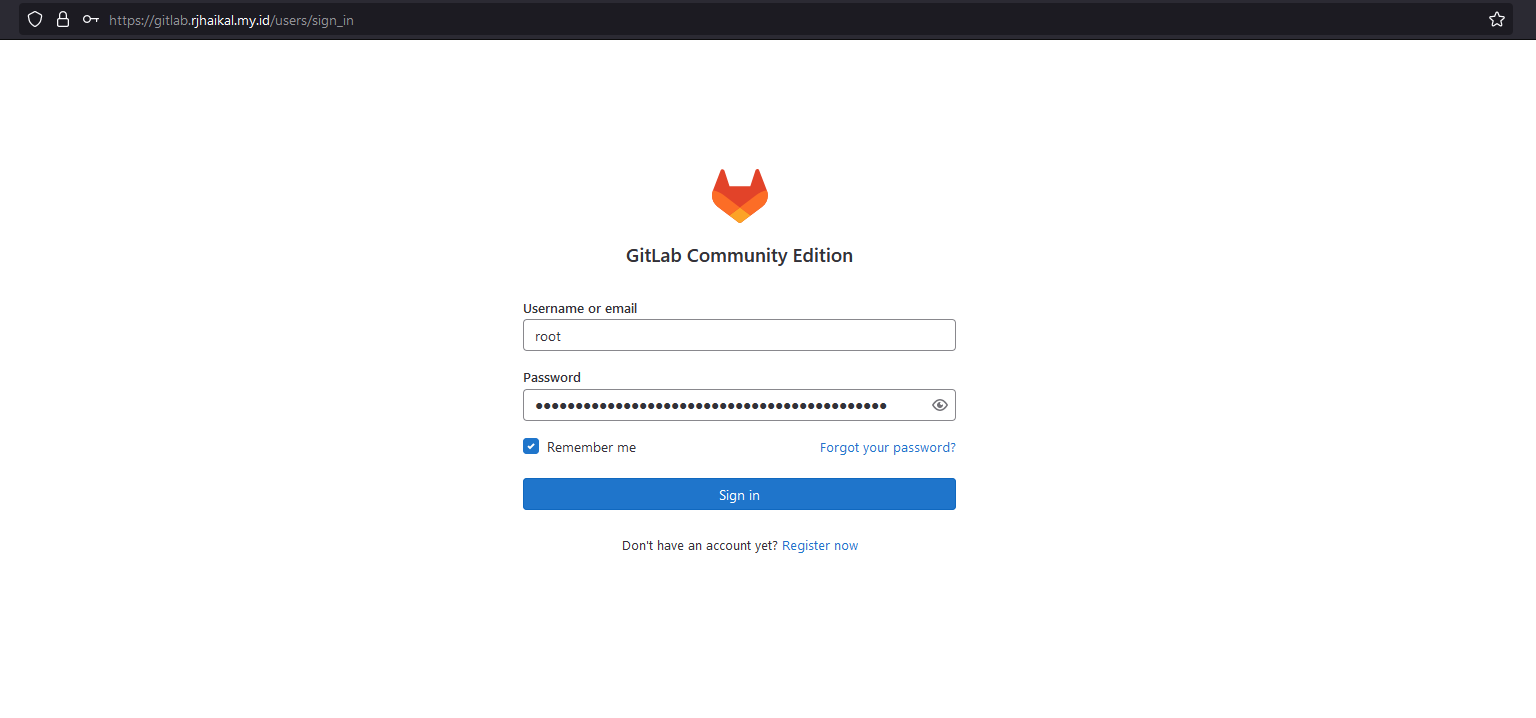
cat /etc/gitlab/initial_root_password5. Login to Gitlab
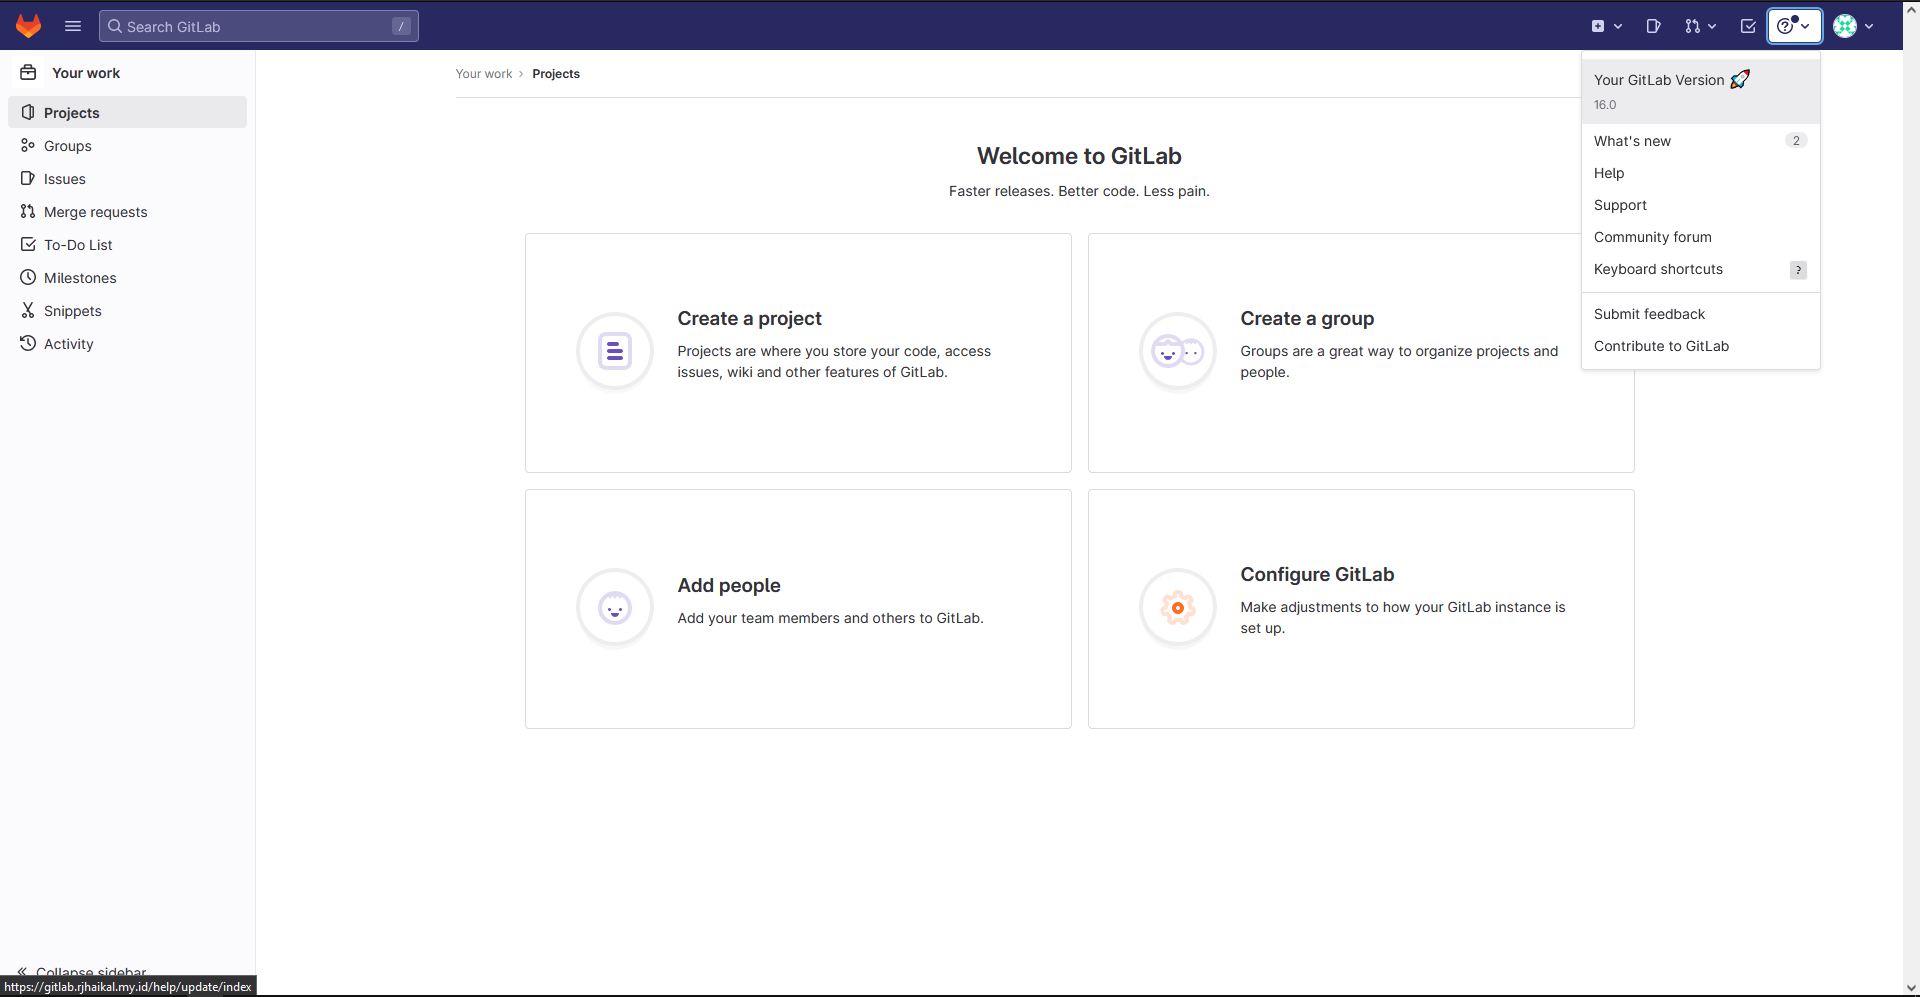
6. Updating Password
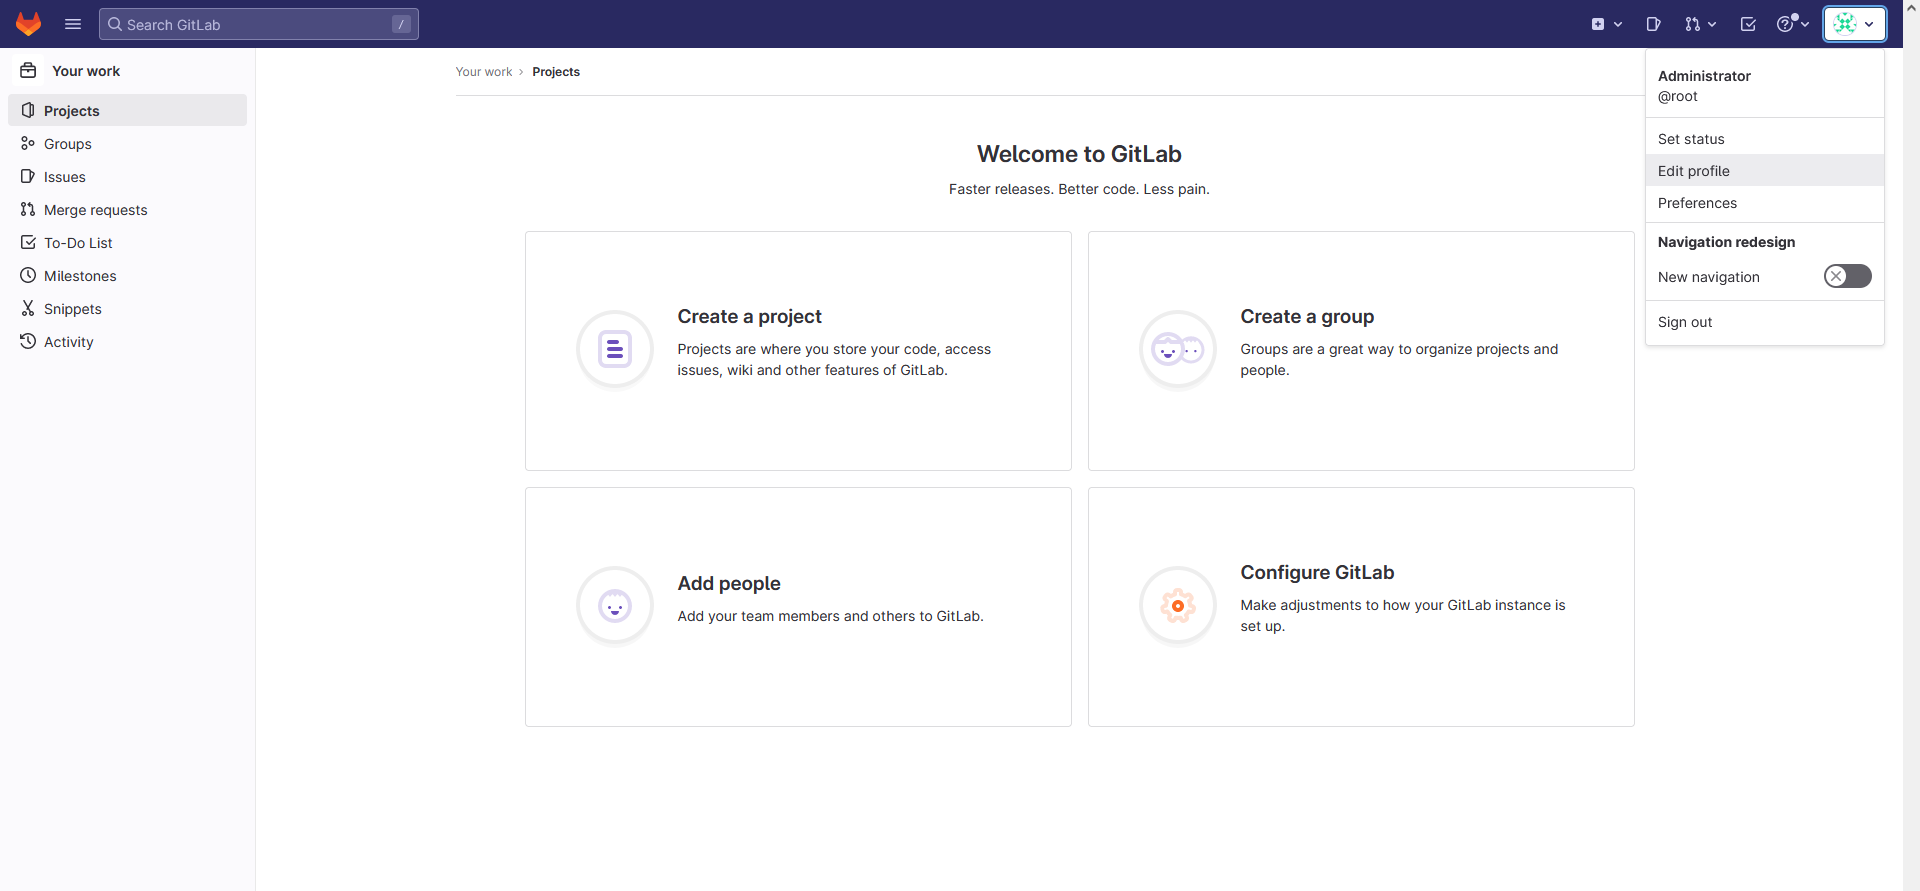
One of the first things you should do after logging in, is change your password. To make this change, click on the icon in the upper-right corner of the navigation bar and select Edit Profile:
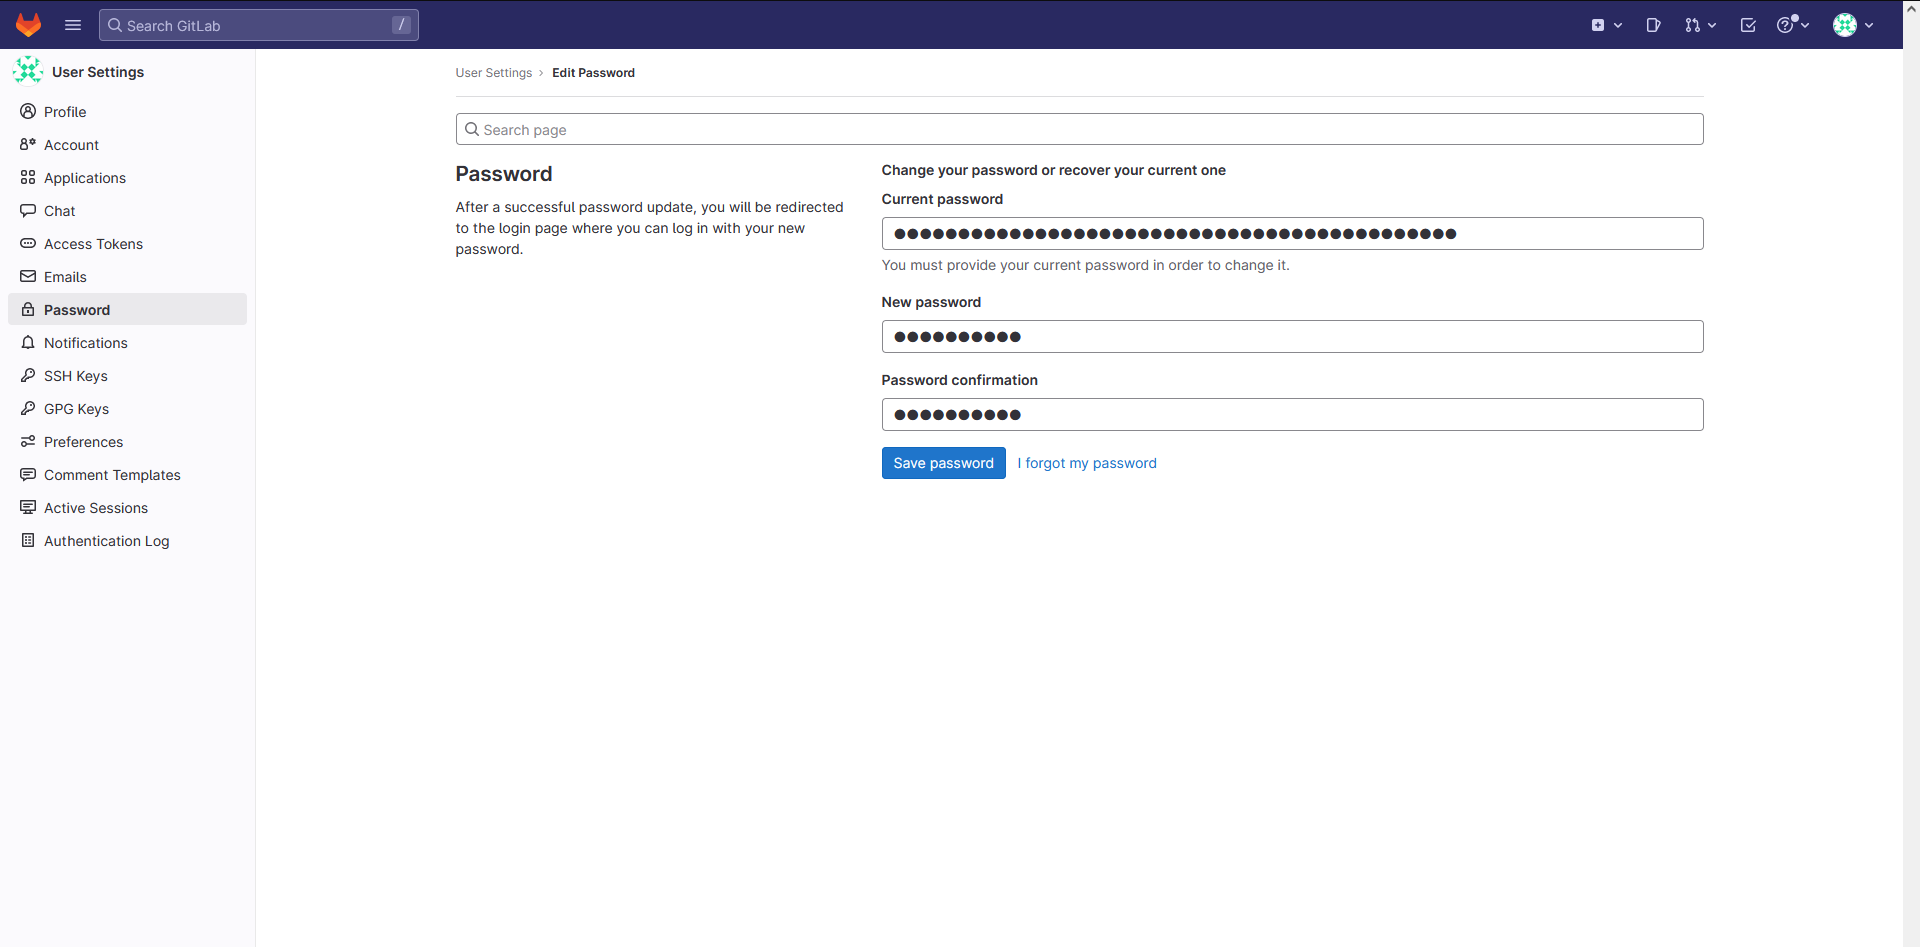
You’ll then enter a User Settings page. On the left navigation bar, select Password to change your GitLab generated password, to a secure password, then click on the Save password button when you’re finished with your updates:
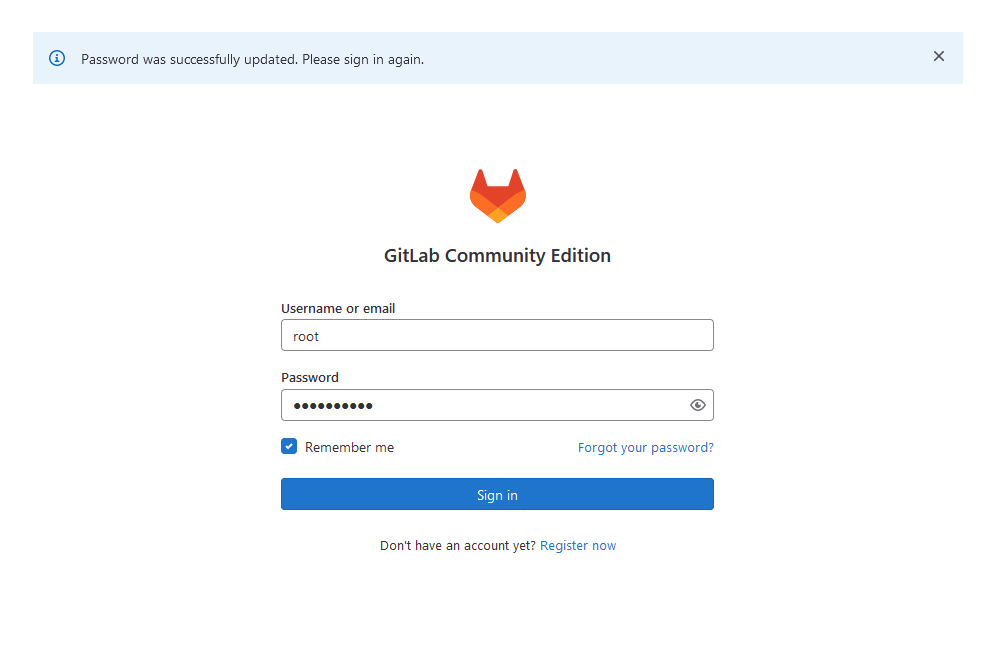
You’ll be taken back to the login screen with a notification that your password has been changed. Enter your new password to log back into your GitLab instance:
Custom SSL Certificate
1. Disable Let’s Encrypt on Gitlab Config
letsencrypt['enable'] = false
2. Create Gitlab SSL Directory
mkdir -p /etc/gitlab/ssl
chmod 755 /etc/gitlab/ssl
3. Copy Certificate to Gitlab SSL Directory
cp gitlab.rjhaikal.my.id.crt /etc/gitlab/ssl
cp gitlab.rjhaikal.my.id.key /etc/gitlab/ssl
4. Reconfigure & Restart Gitlab
gitlab-ctl reconfigure
gitlab-ctl restart


