What is Rancher?
Rancher is a Kubernetes management tool to deploy and run clusters anywhere and on any provider.
Rancher can provision Kubernetes from a hosted provider, provision compute nodes and then install Kubernetes onto them, or import existing Kubernetes clusters running anywhere.
Rancher adds significant value on top of Kubernetes, first by centralizing authentication and role-based access control (RBAC) for all of the clusters, giving global admins the ability to control cluster access from one location.
It then enables detailed monitoring and alerting for clusters and their resources, ships logs to external providers, and integrates directly with Helm via the Application Catalog. If you have an external CI/CD system, you can plug it into Rancher, but if you don't, Rancher even includes Fleet to help you automatically deploy and upgrade workloads.
Rancher is a complete container management platform for Kubernetes, giving you the tools to successfully run Kubernetes anywhere.
Introduction
In this scenario, we will be walking through installing Rancher and deploying several workloads to a cluster provisioned by Rancher.
This scenario will be following the general HA installation instructions available here: High Availability (HA) Install
We will be using two virtual machines today, rj-rke2 and rj-rancher.
| Hostname | OS | Status | Private IP |
|---|---|---|---|
| rj-rancher | sles-15-sp2 | Running | 172.31.32.16 |
| rj-rke2 | sles-15-sp2 | Runinng | 172.31.32.21 |
rj-rancher will run a Kubernetes cluster and Rancher, and rj-rke2 will run a Kubernetes cluster and the corresponding user workloads.
Note that there are two separate Kubernetes clusters at play here, the Rancher Kubernetes Cluster is dedicated to running Rancher, while the Workload Cluster is managed by Rancher and runs on a separate virtual machine.
Install Rancher
1. Install cert-manager
cert-manager is a Kubernetes add-on to automate the management and issuance of TLS certificates from various issuing sources.
The following set of steps will install cert-manager which will be used to manage the TLS certificates for Rancher.
First, we'll add the helm repository for Jetstack.
helm repo add jetstack https://charts.jetstack.ioNow, we can install cert-manager version 1.7.1
helm install \
  cert-manager jetstack/cert-manager \
  --namespace cert-manager \
  --version v1.7.1 \
  --set installCRDs=true \
  --create-namespace
Once the helm chart has installed, you can monitor the rollout status of both cert-manager and cert-manager-webhook
kubectl -n cert-manager rollout status deploy/cert-manager

kubectl -n cert-manager rollout status deploy/cert-manager-webhook
2. Install Rancher
We will now install Rancher in HA mode onto our Rancher Server. The following command will add rancher-latest as a helm repository.
helm repo add rancher-latest https://releases.rancher.com/server-charts/latestFinally, we can install Rancher using our helm install command.
helm install rancher rancher-latest/rancher \
  --namespace cattle-system \
  --set hostname=rancher.rjhaikal.my.id \
  --set replicas=1 \
  --version 2.7.1 \
  --create-namespace
Before we access Rancher, we need to make sure that cert-manager has signed a certificate using the dynamiclistener-ca in order to make sure our connection to Rancher does not get interrupted.
The following bash script will check for the certificate we are looking for.
while true; do curl -kv https://rancher.rjhaikal.my.id 2>&1 | grep -q "dynamiclistener-ca"; if [ $? != 0 ]; then echo "Rancher isn't ready yet"; sleep 5; continue; fi; break; done; echo "Rancher is Ready";
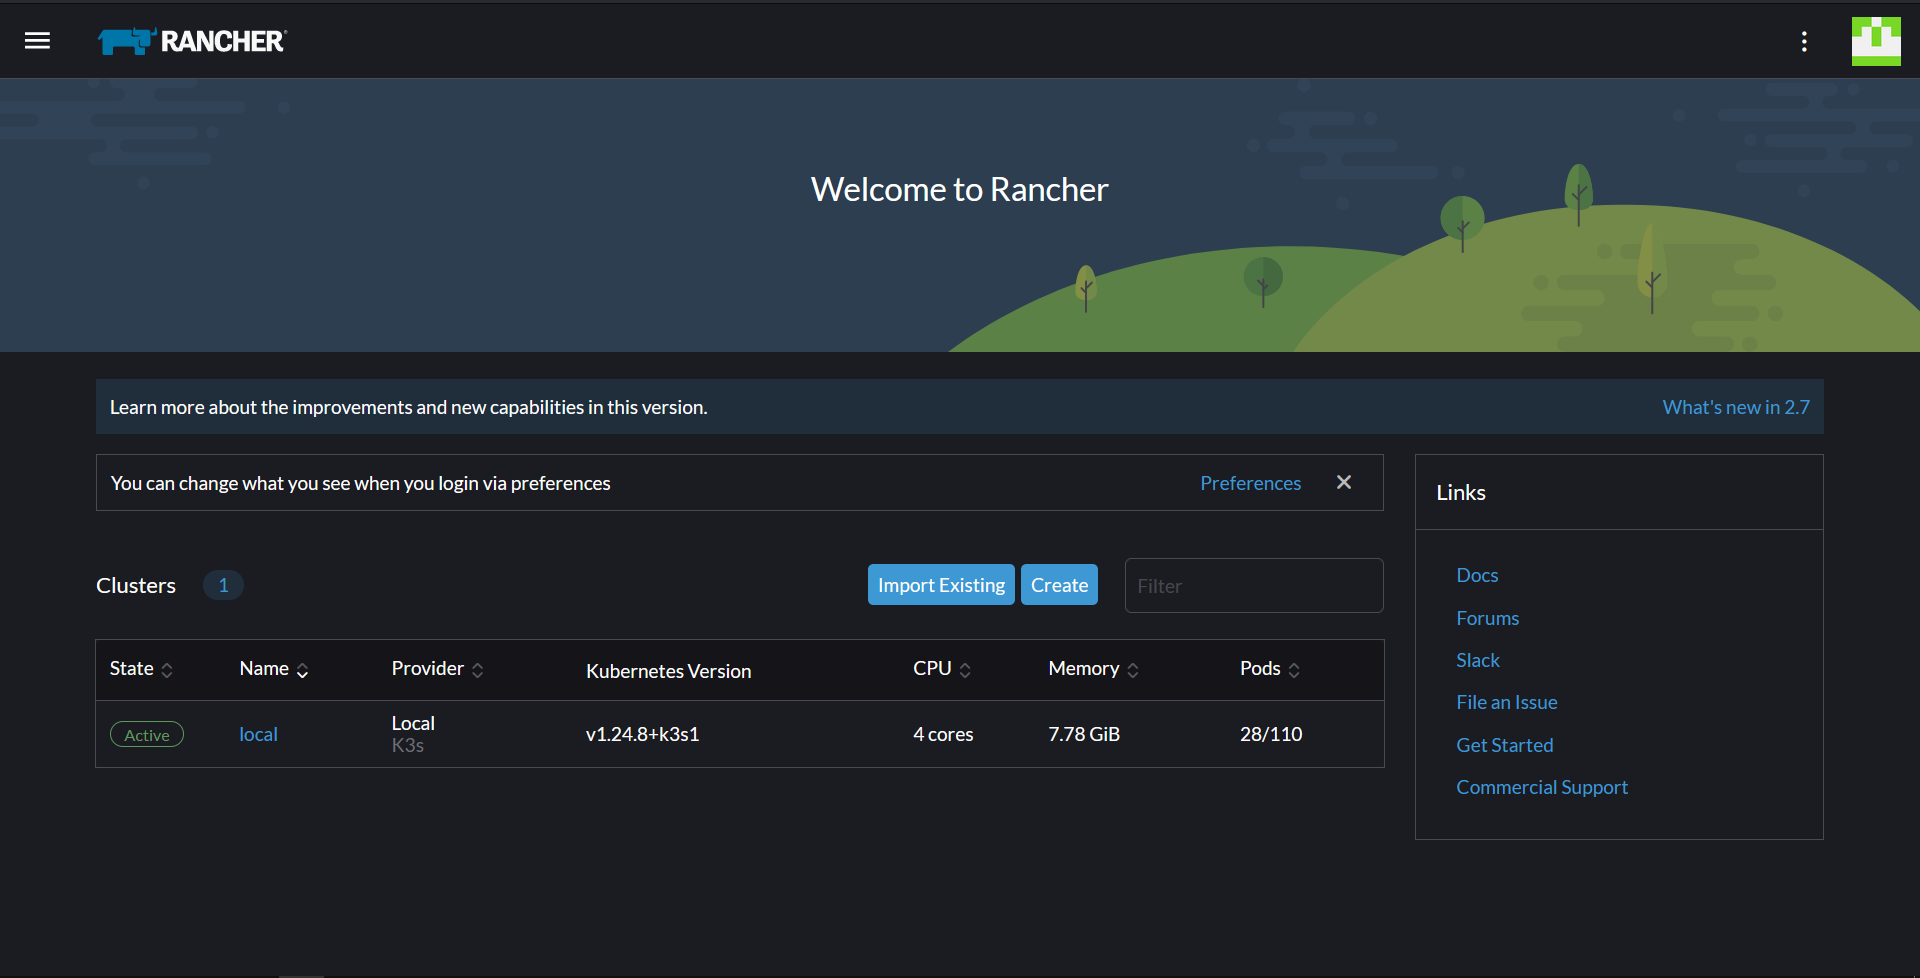
Accessing Rancher
Access Rancher Server at https://rancher.rjhaikal.my.id
Rancher is installed with a self-signed certificate from a CA that is not automatically trusted by your browser. Because of this, you will see a certificate warning in your browser. You can safely skip this warning.
Please follow instructions on UI to generate password for default admin user when prompted. When prompted, the Rancher Server URL should be https://rancher.rjhaikal.my.id, which is the hostname you used to access the server.