Creating Projects in your Kubernetes Cluster
A project is a grouping of one or more Kubernetes namespaces. In this step, we will create an example project and use it to deploy a stateless wordpress.
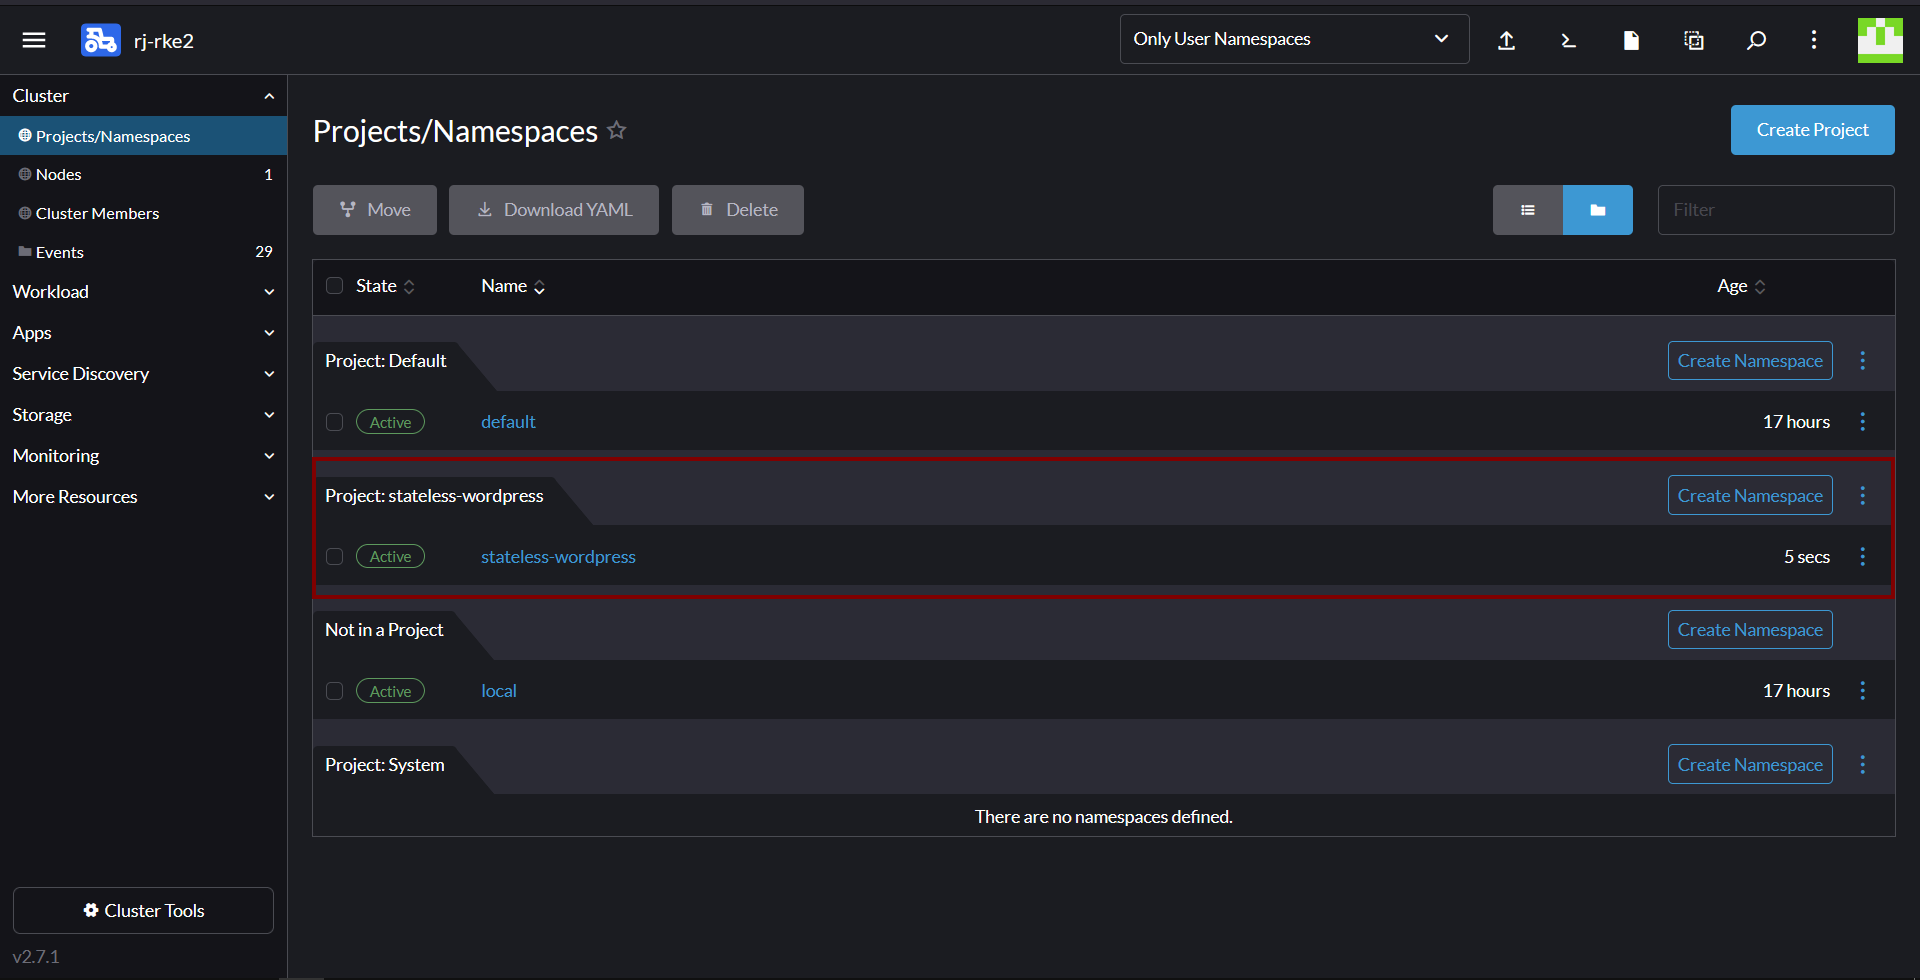
1. In the left menu go to Cluster > Projects/Namespaces
2. Click Create Project in the top right
3. Give your project a name, like stateless-wordpress
4. Next create a new namespace in the stateless-wordpress project. In the list of all Projects/Namespaces, scroll down to the stateless-wordpress project and click the Create Namespace button.
5. Enter the Name stateless-wordpress and click Create.
Add a new chart repository
The easiest way to install a complete Wordpress into our cluster, is through the built-in Apps Marketplace. In addition to the Rancher and partner provided apps that are already available. You can add any other Helm repository and allow the installation of the Helm charts in there through the Rancher UI.
1. In the left menu go to Apps & Marketplace > Chart repositories
2. Click on Create in the top right
3. Enter the following details:
- Name - rodeo
- Target - Should be http(s) URL
- Index URL - https://rancher.github.io/rodeo
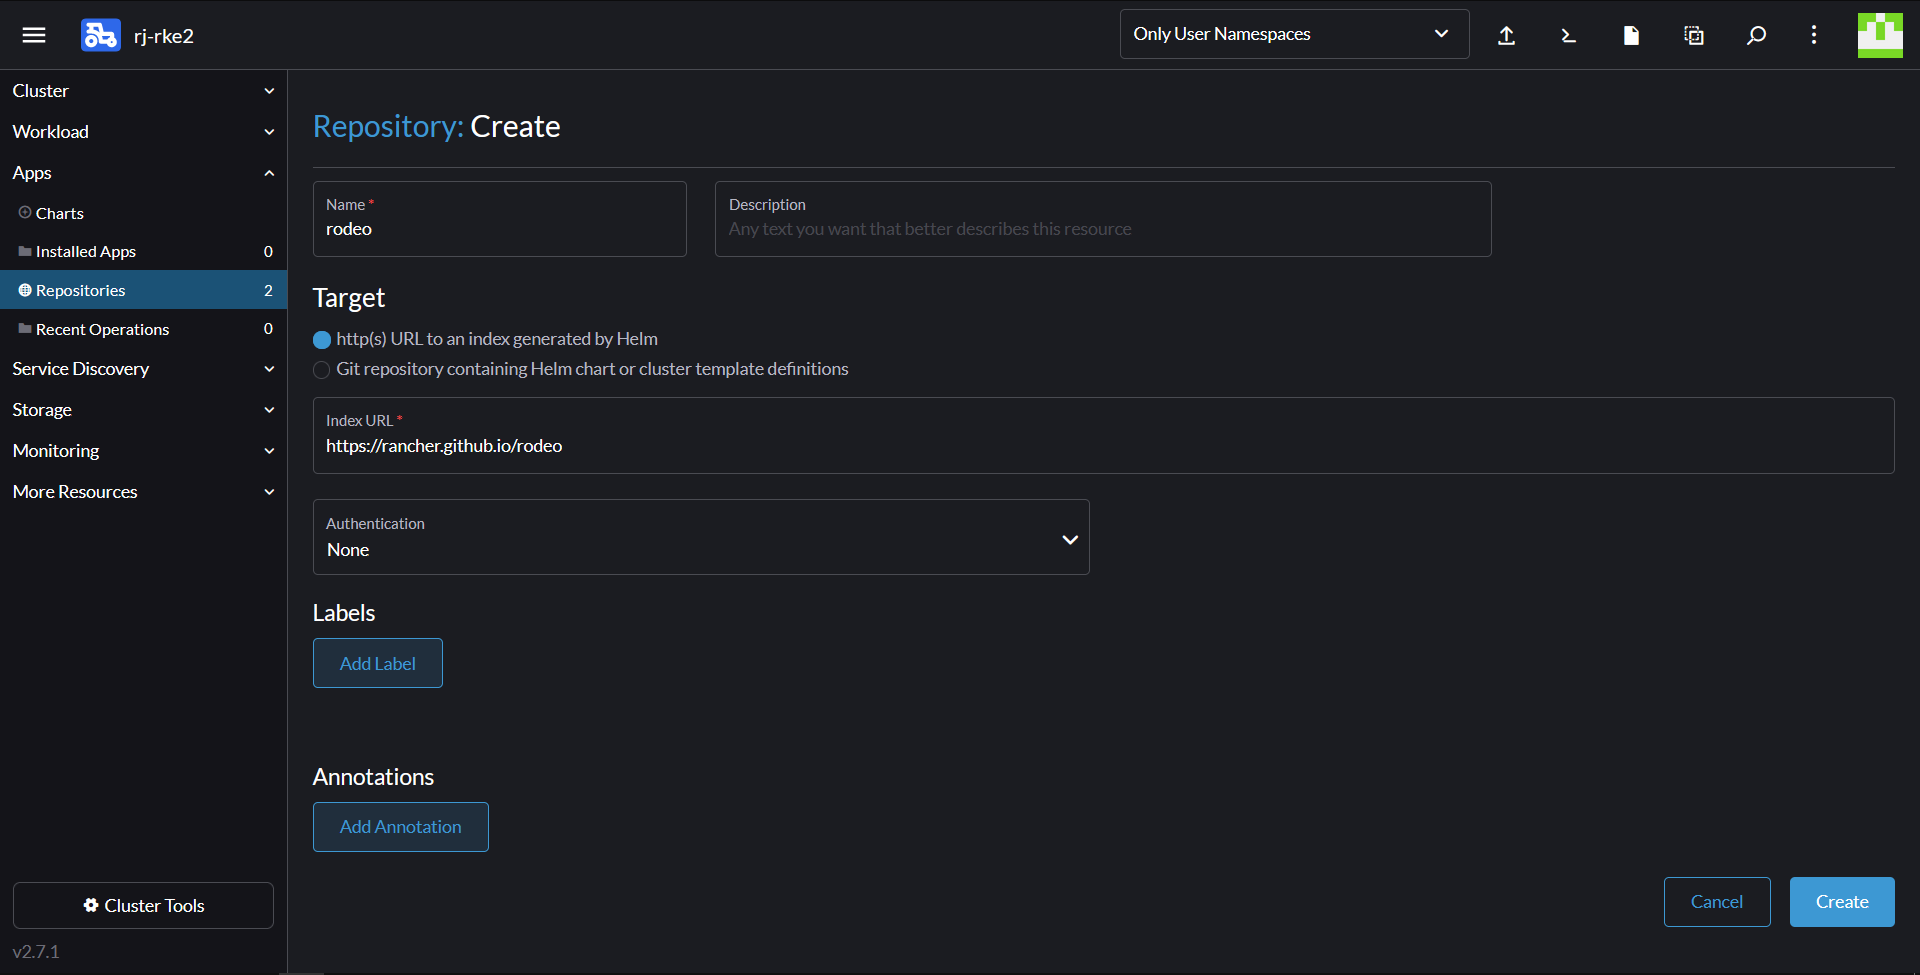
4. Click on Create
5. Once the repository has been synchronized, go to Apps & Marketplace > Charts. There you will now see several new apps that you can install.
Deploy a Wordpress as a Stateless Application
In this step, we will be deploying Wordpress as a stateless application in the Kubernetes cluster.
1. From Apps & Marketplace > Charts install the Wordpress app
2. In step 1 of the install wizard, choose the stateless-wordpress namespace and give the installation the name wordpress
3. In step 2 of the install wizard, set:
- Wordpress settings > Wordpress password - to a password of your choice
- Services and Load Balancing > Hostname - wordpress.rjhaikal.my.id
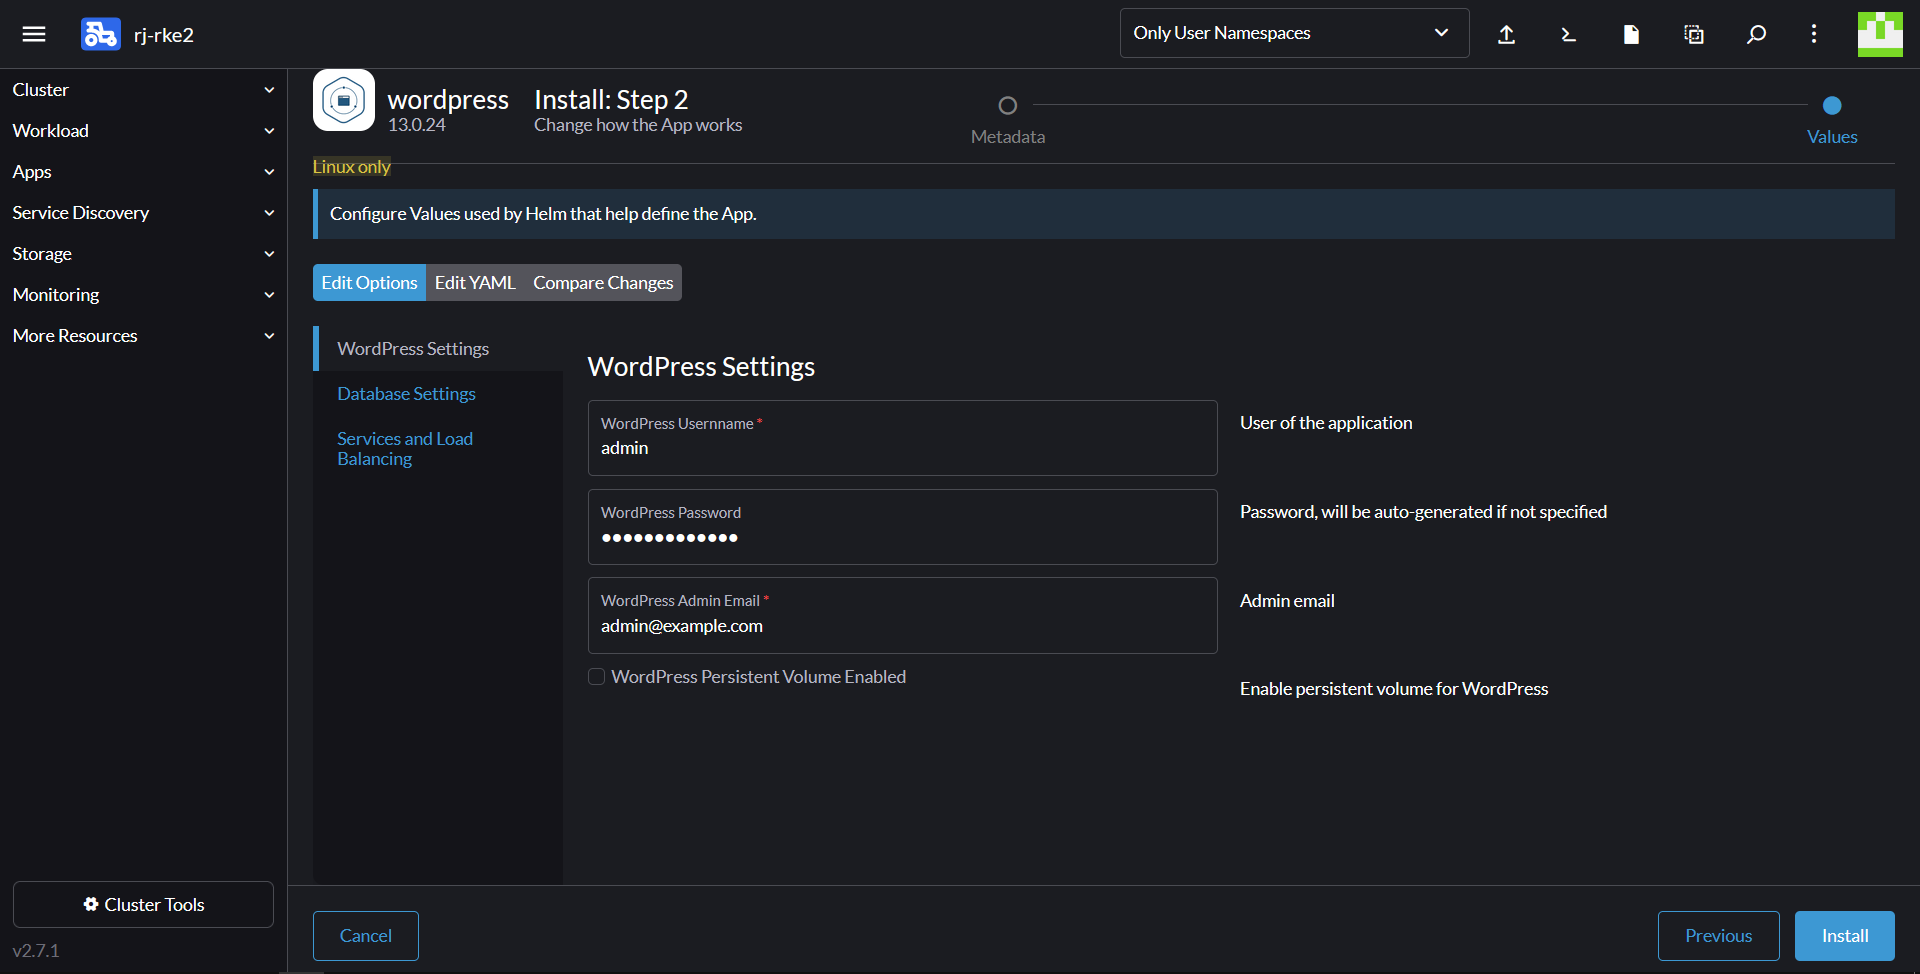
4. Scroll to the bottom and click Install.
5. Once the installation is complete, navigate to Service Discovery > Ingresses. There you will see a new Ingress. Click on the URL to access Wordpress.
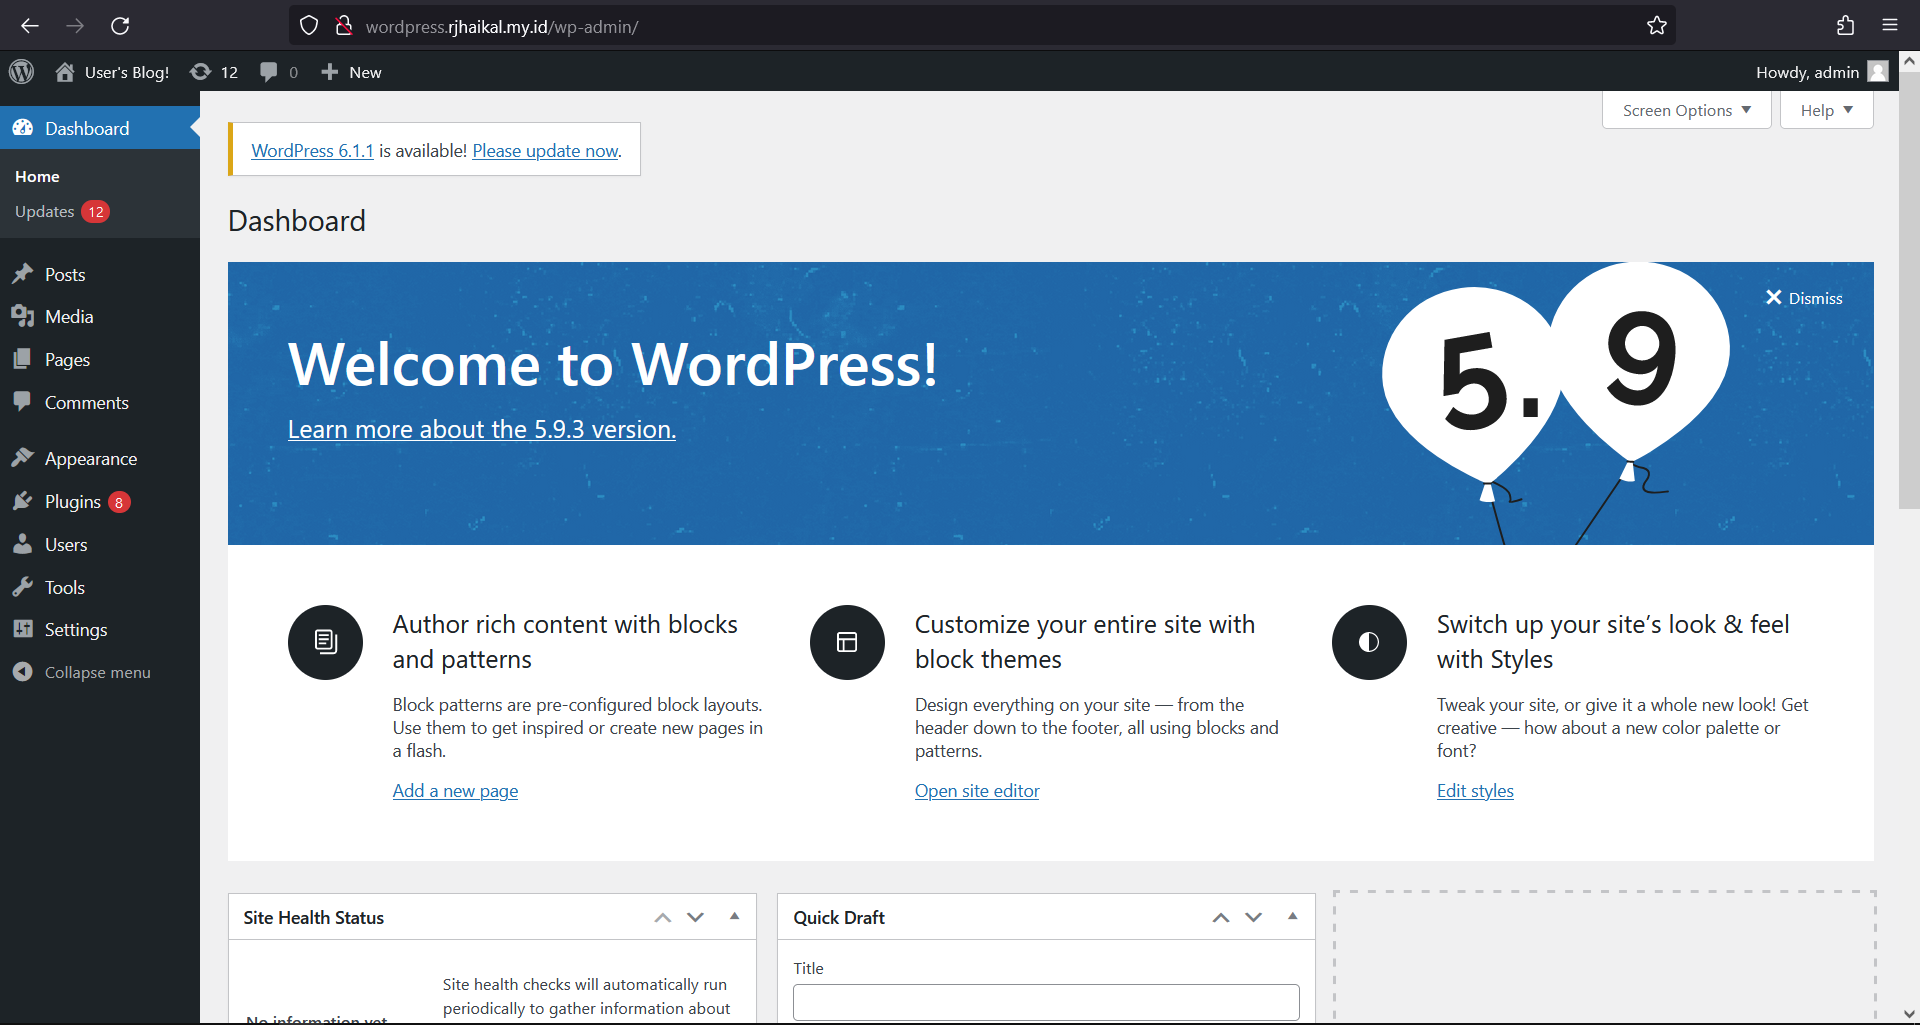
6. Log into Wordpress using your set admin credentials - http://wordpress.rjhaikal.my.id/wp-admin, and create a new blog post.
Note that if you delete the wordpress-mariadb-0 pod or click Redeploy on the wordpress-mariadb StatefulSet you will lose your post. This is because there is no persistent storage under the Wordpress MariaDB StatefulSet.
Deploy the nfs-server-provisioner into your Kubernetes Cluster
In a Kubernetes Cluster, it can be desirable to have persistent storage available for applications to use. As we do not have a Kubernetes Cloud Provider enabled in this cluster, we will be deploying the nfs-server-provisioner which will run an NFS server inside of our Kubernetes cluster for persistent storage. This is not a production-ready solution by any means, but helps to illustrate the persistent storage constructs.
1. From Apps & Marketplace > Charts install the nfs-server-provisioner app
2. In step 1 of the install wizard, choose the kube-system namespace and give the installation the name nfs-server-provisioner
3. In step 2 of the install wizard, you can keep all the settings as default.
4. Scroll to the bottom and click Install.
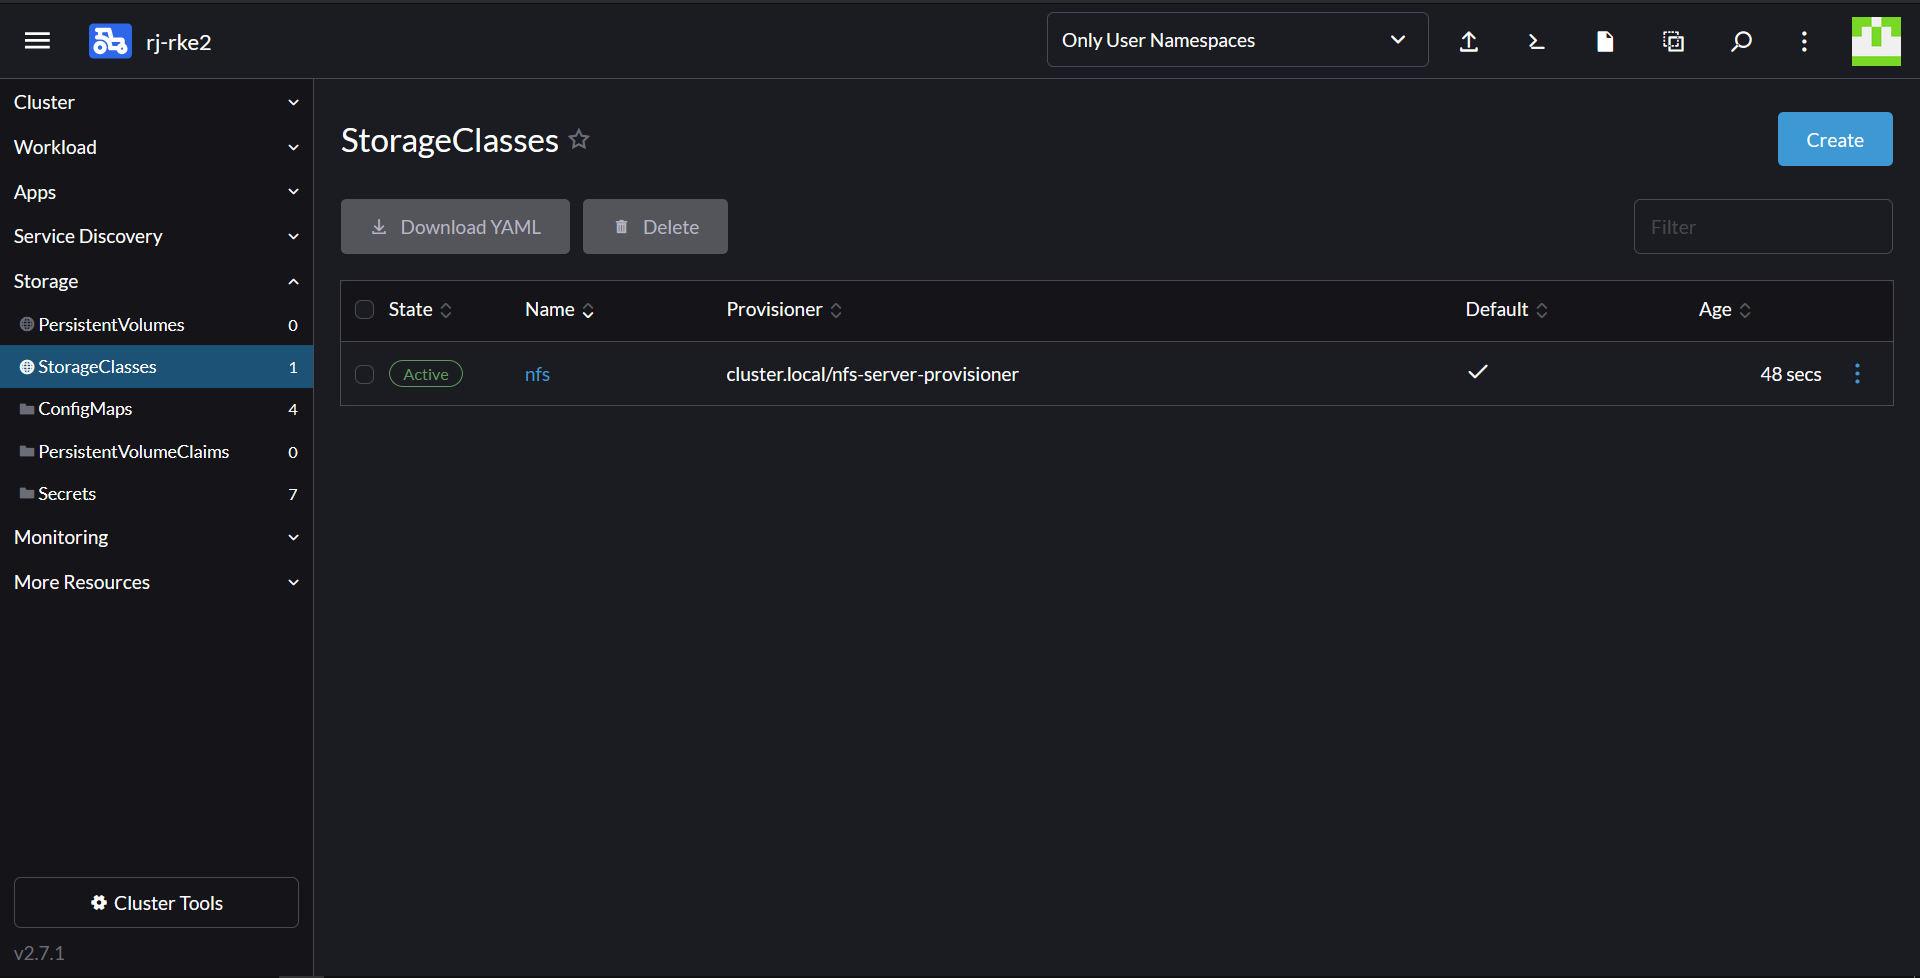
5. Once the app is installed, go to Storage > Storage Classes
5. Observe the nfs storage class and the checkmark next to it which indicates it is the Default storage class.
Creating a Stateful Wordpress Project in your Kubernetes Cluster
Let's deploy a second Wordpress instance into the cluster that uses the NFS storage provider. First create a new project for it:
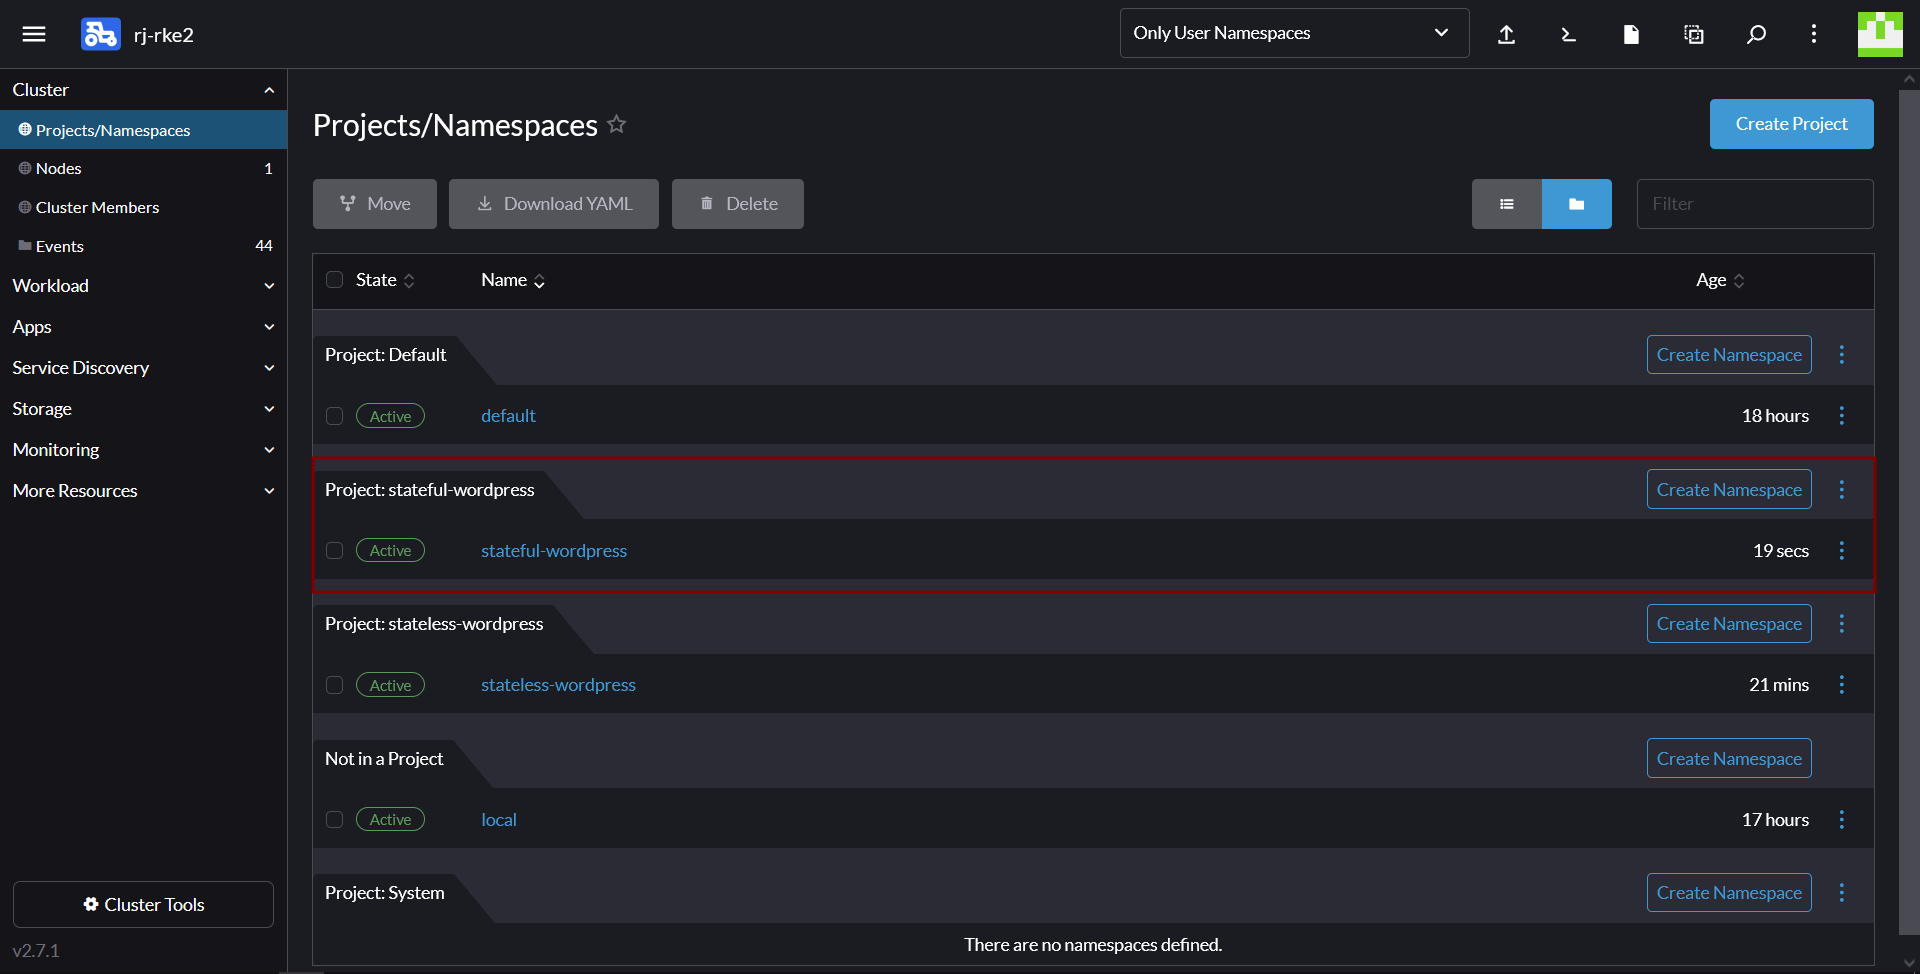
1. In the left menu go to Cluster > Projects/Namespaces
2. Click Create Project in the top right
3. Give your project a name, like stateful-wordpress
4. Next create a new namespace in the stateful-wordpress project. In the list of all Projects/Namespaces, scroll down to the stateful-wordpress project and click the Create Namespace button.
5. Enter the Name stateful-wordpress and click Create.
Deploy Wordpress as a Stateful Application
In this step, we will be deploying Wordpress as a stateful application in the Kubernetes cluster. This wordpress deployment will utilize the we deployed in the previous step to store our mariadb data persistently.
1. From Apps & Marketplace > Charts install the Wordpress app
2. In step 1 of the install wizard, choose the stateful-wordpress namespace and give the installation the name wordpress
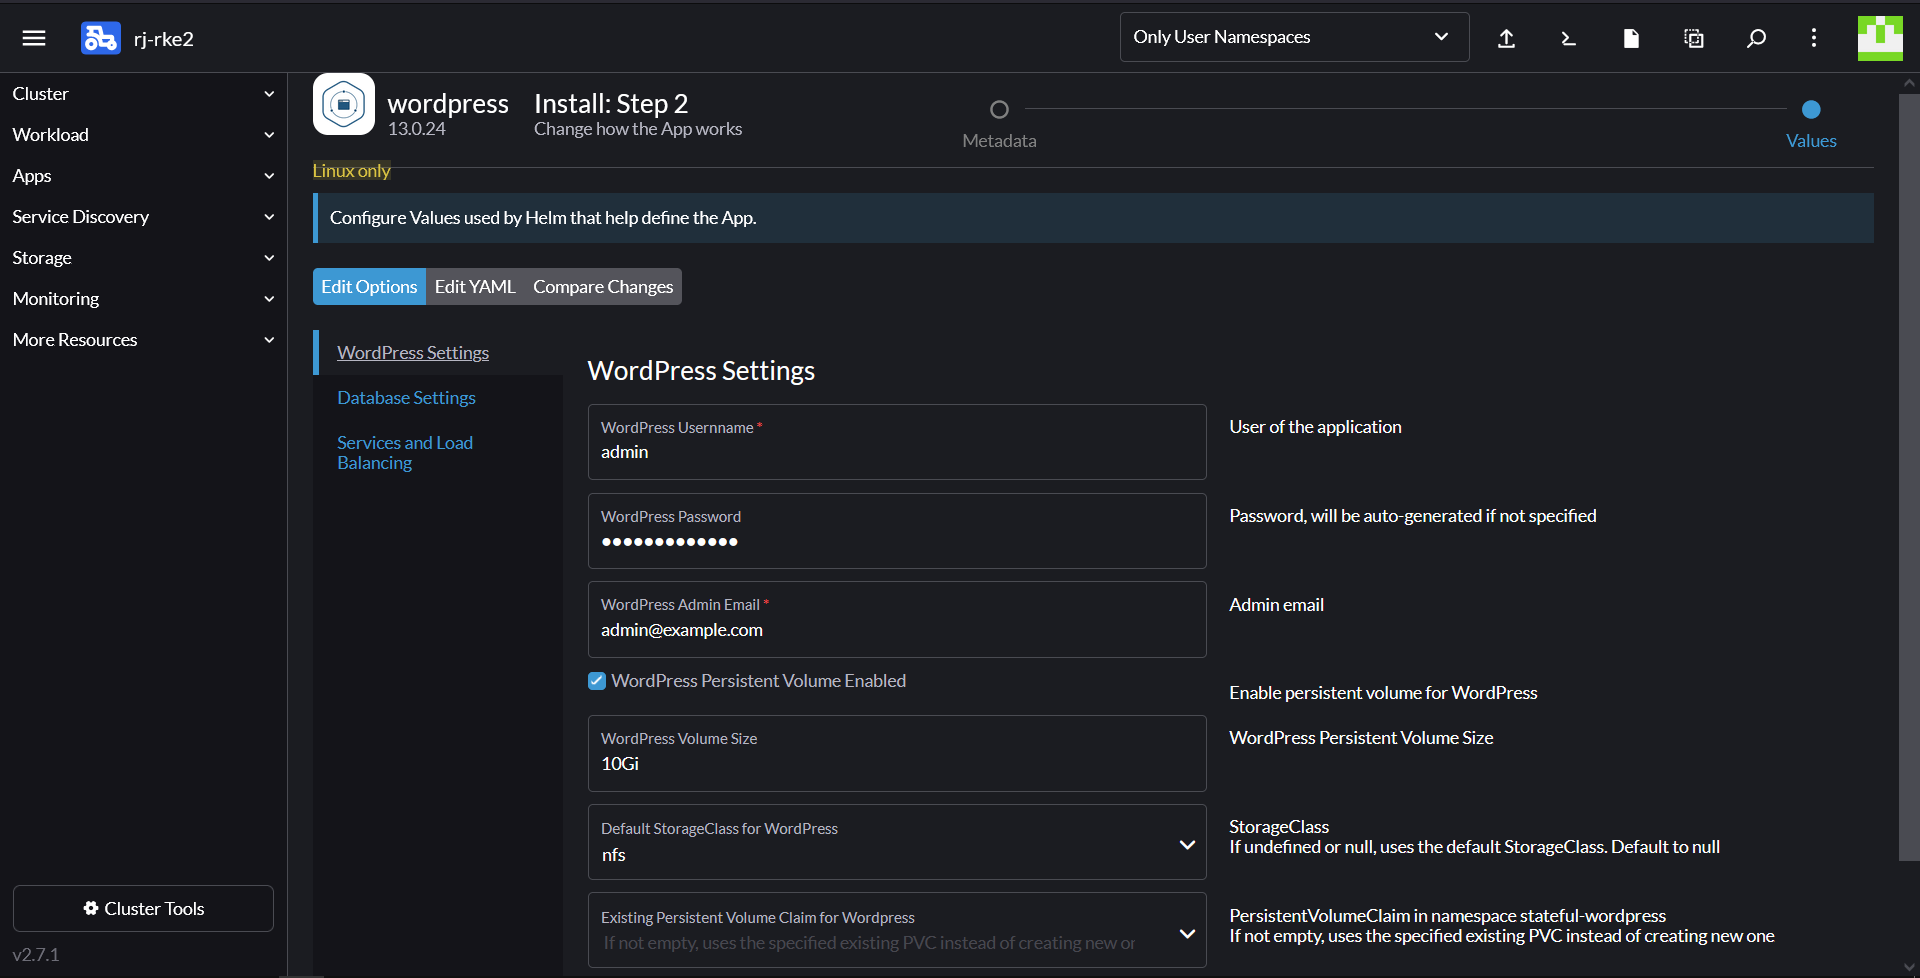
3. In step 2 of the install wizard, set:
- Wordpress settings > Wordpress password - to a password of your choice
- Enable Wordpress setting > Wordpress Persistent Volume Enabled
- Enable Database setting > MariaDB Persistent Volume Enabled
- Services and Load Balancing > Hostname - stateful-wordpress.rjhaikal.my.id
4. Scroll to the bottom and click Install.
5. Once the installation is complete, navigate to Service Discovery > Ingresses. There you will see a new Ingress. Click on the URL to access Wordpress.
6. Note that you now have two Persistent Volumes available under Storage > Persistent Volumes
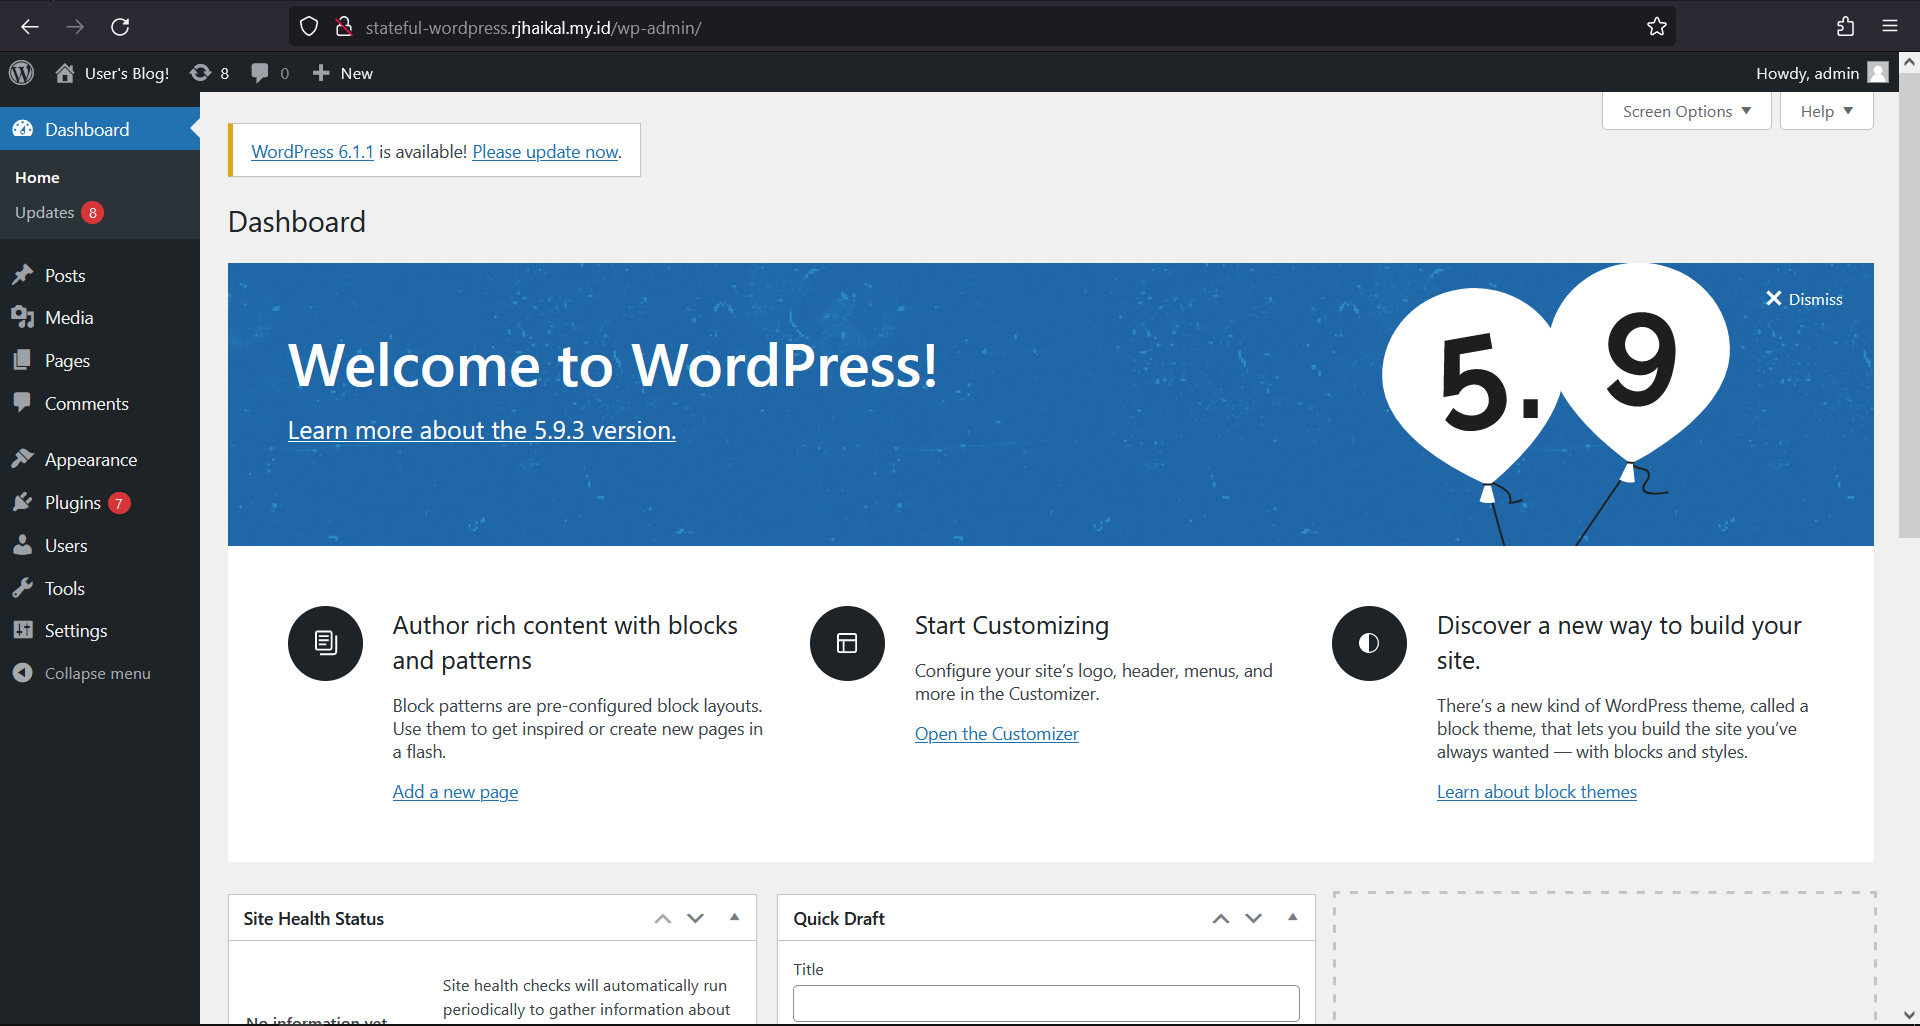
7. Log into Wordpress using your set admin credentials - http://stateful-wordpress.rjhaikal.my.id/wp-admin and create a new blog post. If you delete the wordpress-mariadb pod or click Redeploy now, your post will not be lost.
Upgrading your Kubernetes Cluster
This step shows how easy it is to upgrade your Kubernetes clusters within Rancher.
1. In the global menu go to Cluster Management
2. Click the ellipses button (...) at the end of the line of the second cluster you created
3. Click Edit Config
4. Under Kubernetes Version select a newer version of Kubernetes
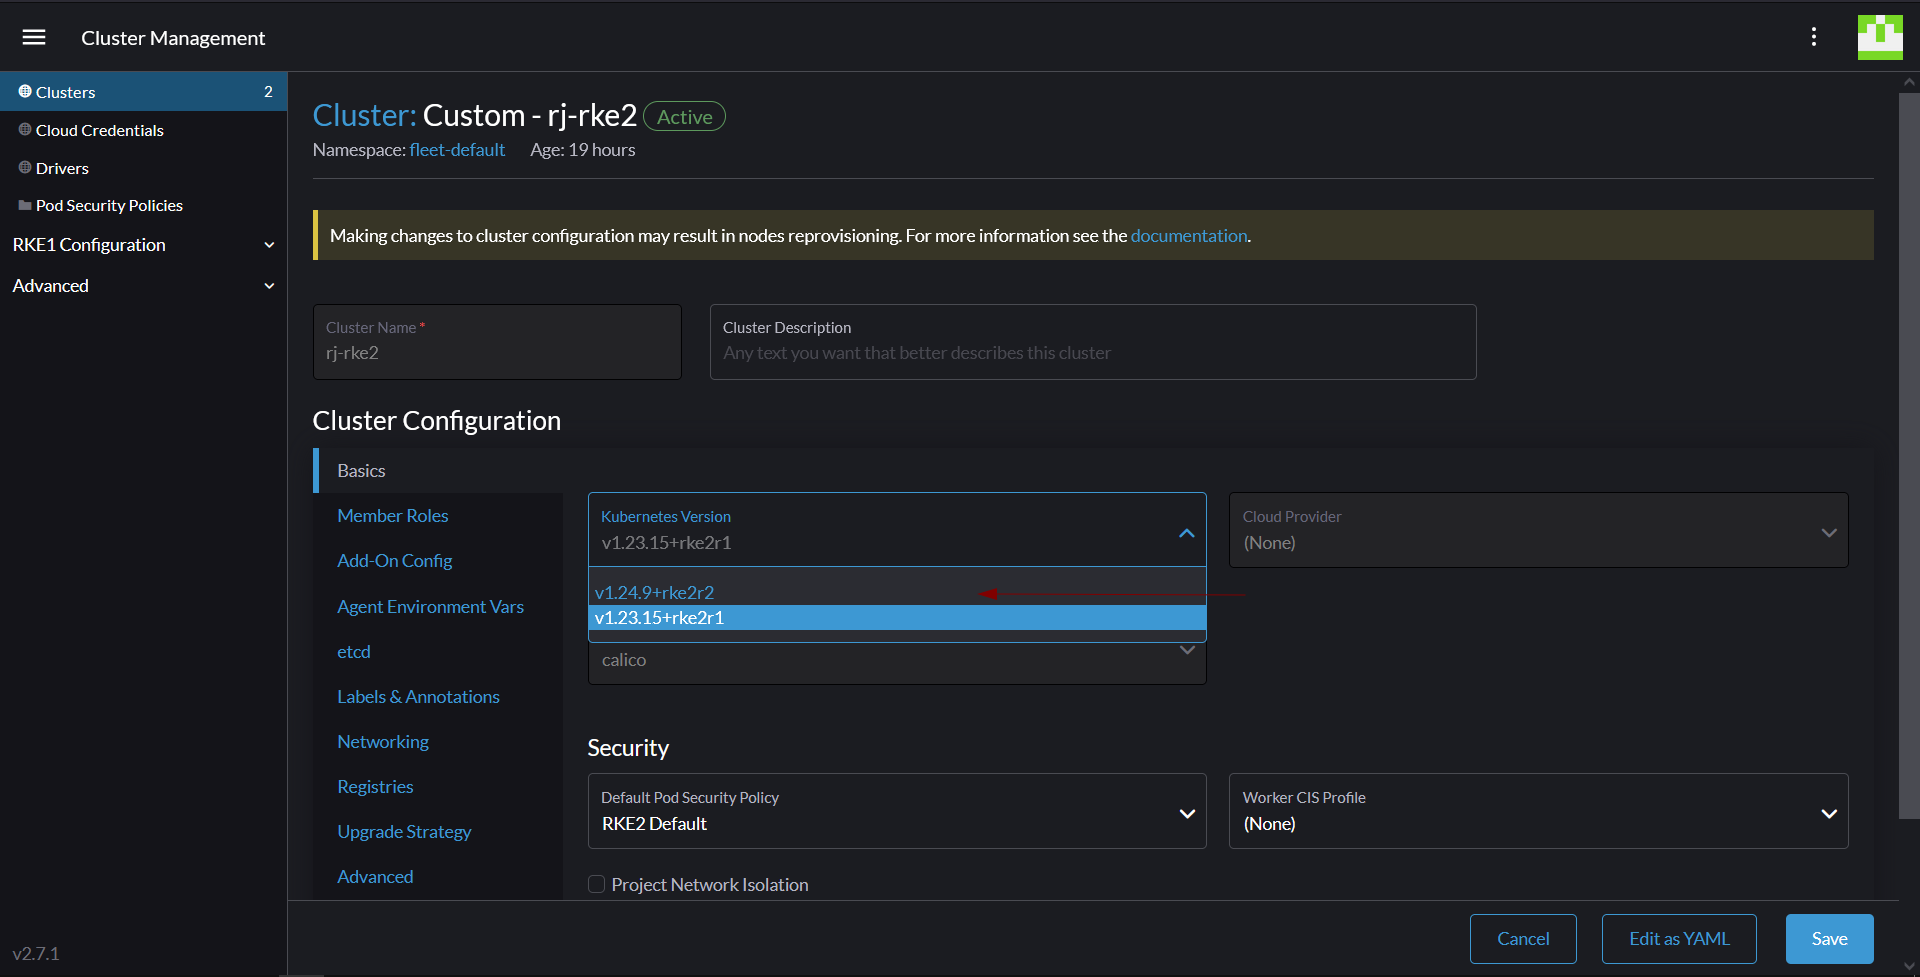
5. Scroll down and hit Save
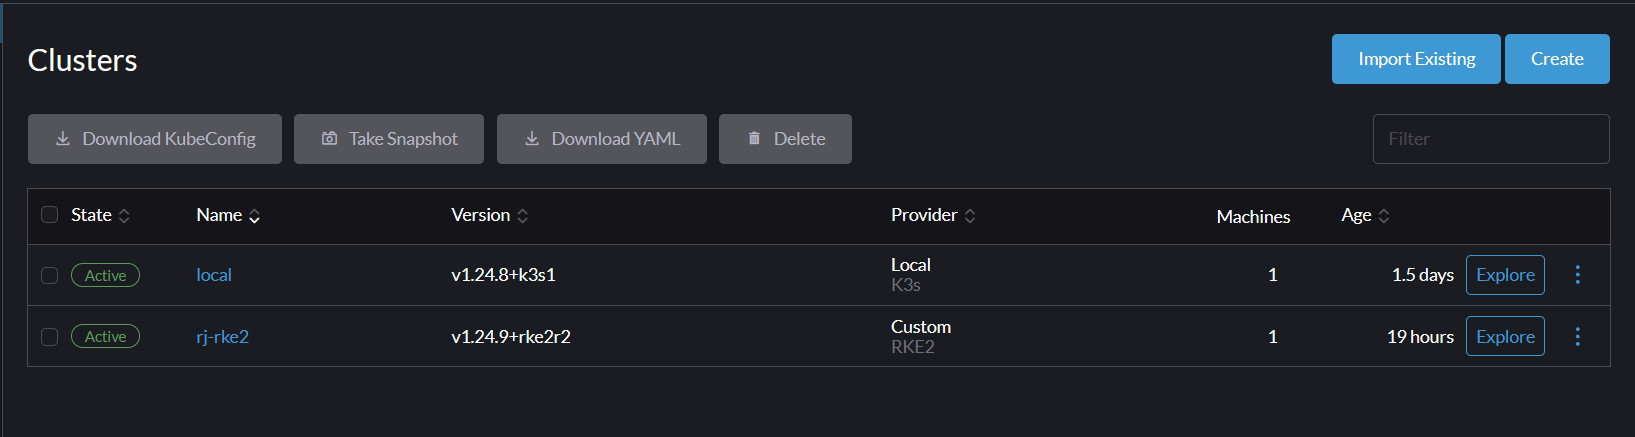
Observe that your Kubernetes cluster will now be upgraded.
Before Upgrade

After Upgrade


